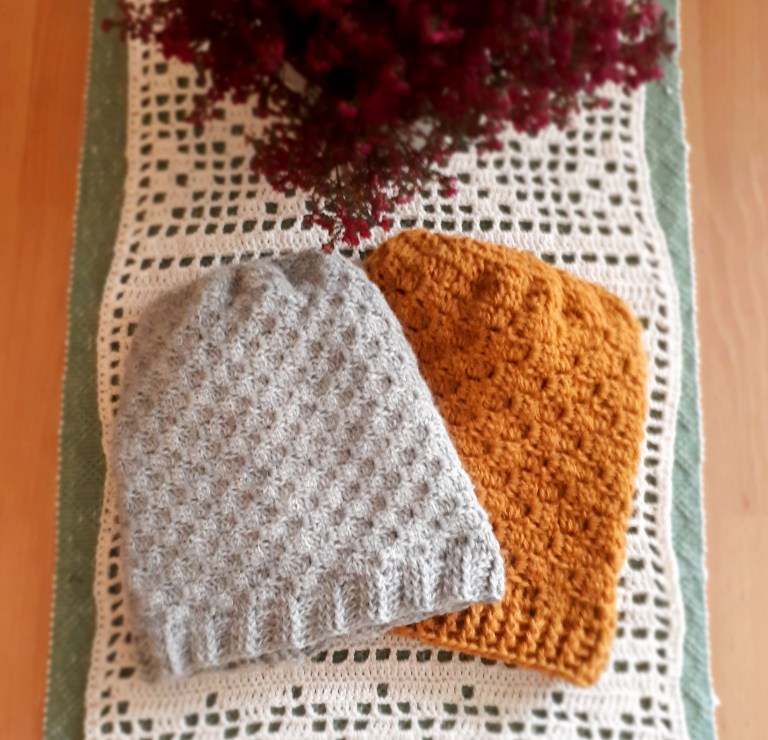
C2C Beanie
Hi guys!
So I really like the c2c technique and one day I sat around thinking… hmm maybe I could make a c2c beanie/hat? Let’s try!
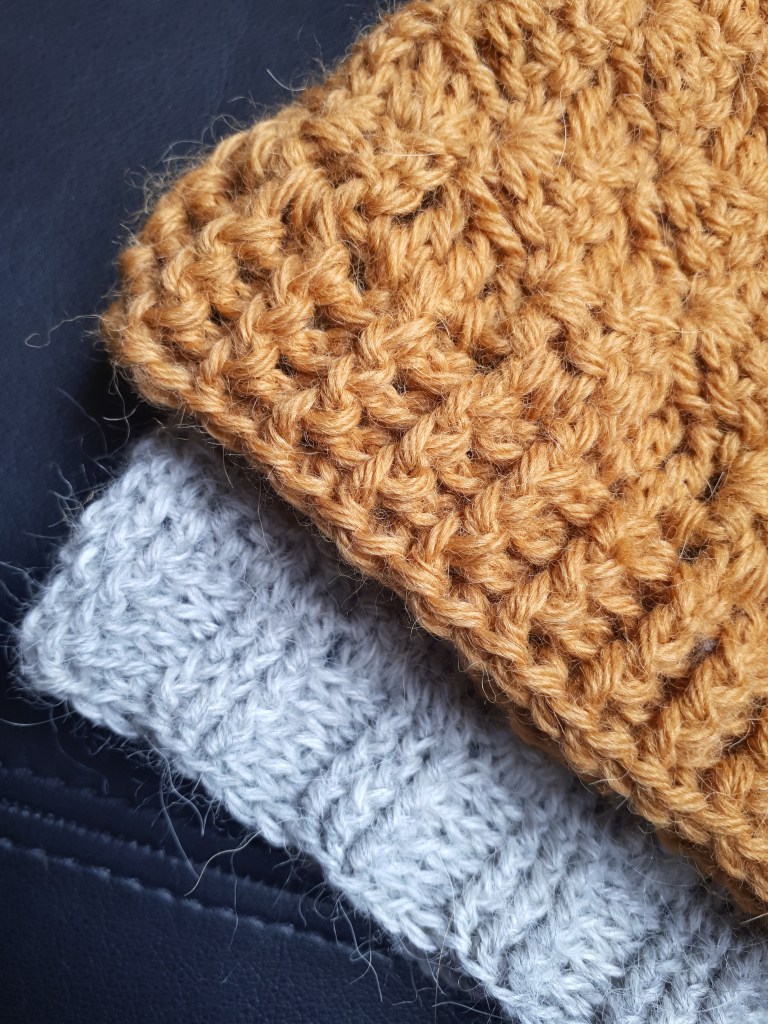
You can use whatever yarn you want. I used Peru from Trysilgarn (sport weight) and a hook 3,5 mm for the grey one, and Sandnes Alpakka (aran/worsted weight) and hook 5 mm for the mustard one. I used about 75-100g on each beanie.
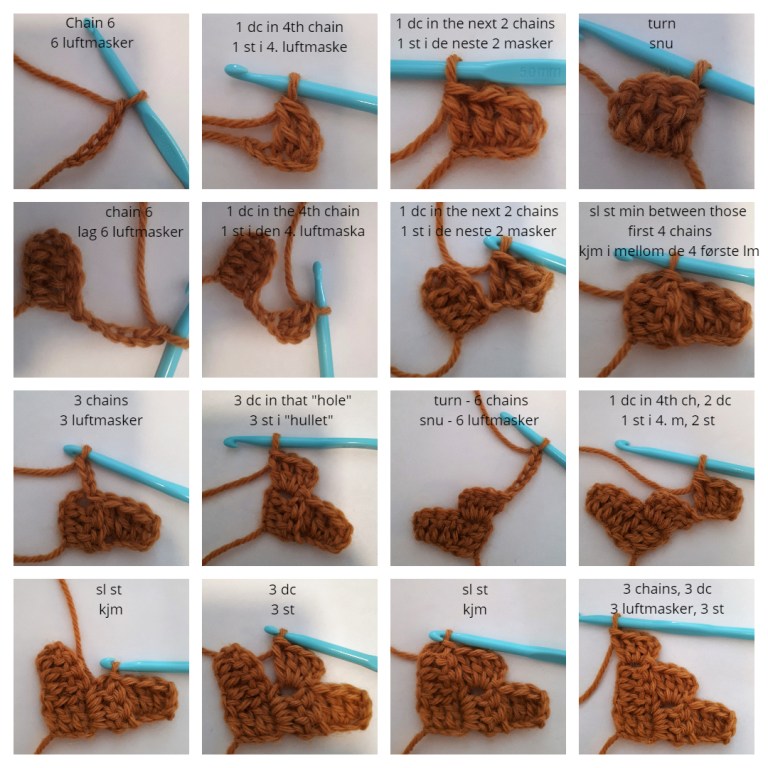
Ok, so this is a pattern, or maybe rather a tutorial on how to use c2c to make a hat. If you don’t know c2c I’ve made a little tutorial, or you can search for a different one. There are a lot… I will include the picture tutorial below.
The beanie consists of three parts. 1 c2c rectangle, 1 crochet top part, 1 crochet bottom part.
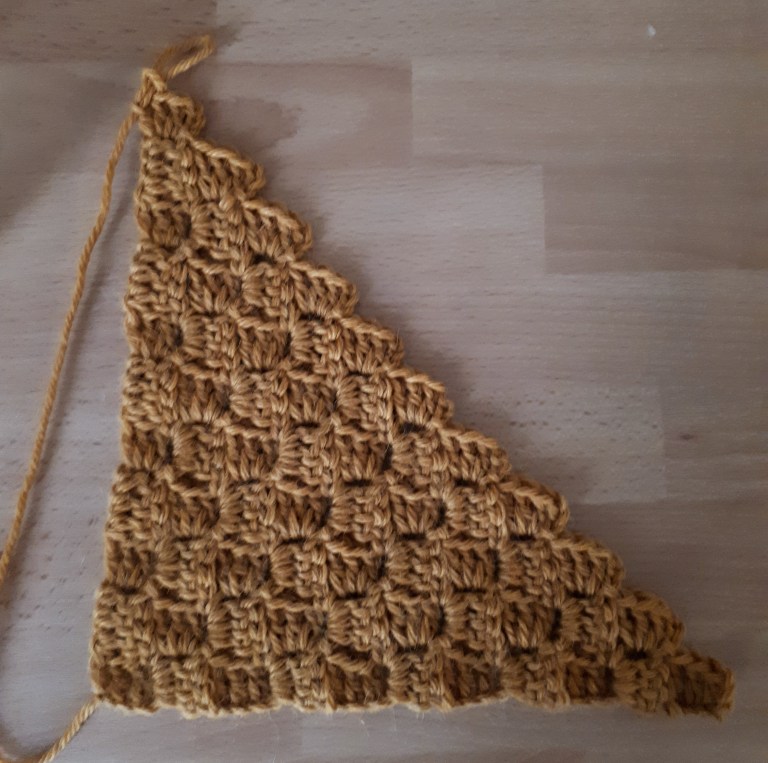
Let’s start with the c2c rectangle.
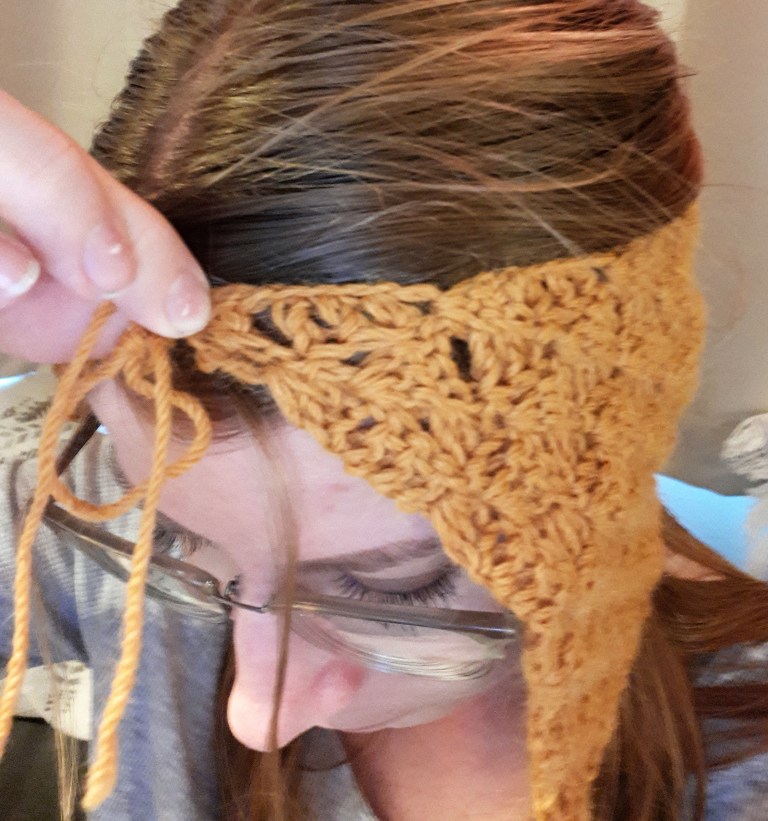
So, c2c is usually making a square right, corner to corner. But to make a rectangle is very simple. You start by making c2c as normal, increasing for each round, until you reach a height you want for you beanie. You can find another hat/beanie and use that as a reference or just measure on your own head. But, remember that you will also make a top part, and a bottom part, so the beanie will be bigger than this. My c2c square was about 18 cm tall, 11 little squares in mustard, 17 little squares in grey. The finished height was 25 cm, with the other parts included.
After you reach your desired height you want to maintain that, but still make your piece broader. To do this you will now decrease at the top part, and increase at the bottom part. This will form a rectangle.
How to decrease in c2c:

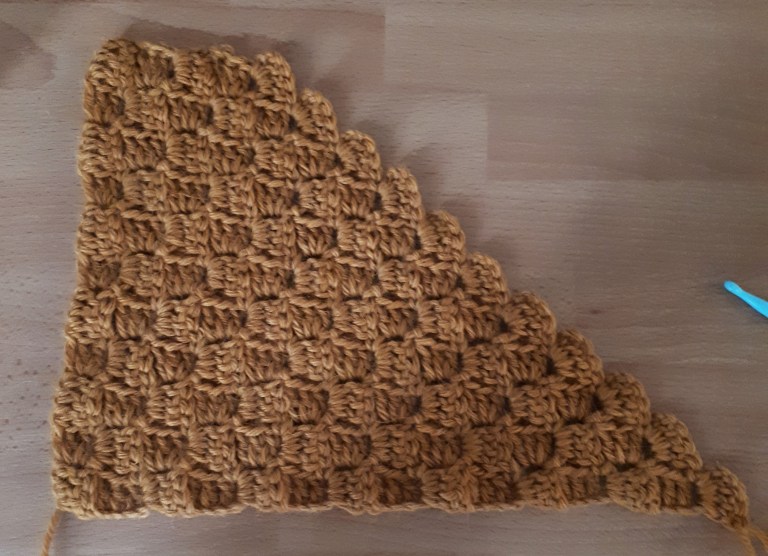
When you reach your desired width, you will start decreasing in that side too. So now you will decrease as a normal c2c square, in both corners/sides. To find you the width you need you take both ends of the long parts and try it around you head. If you have to stretch them alot it might be too small, but you don’t want it too loose either. This will also determine your look. Do you want a tight beanie? Or a baggy loose beanie?
If you happy with your fit you will now decrease. Decrease all the way until you have a completed rectangle. Mine was about 40 cm long in grey and 43 cm long in mustard. (35 and 27 little squares) I made the mustard a bit bigger on purpuse, since the grey is tightfitting.
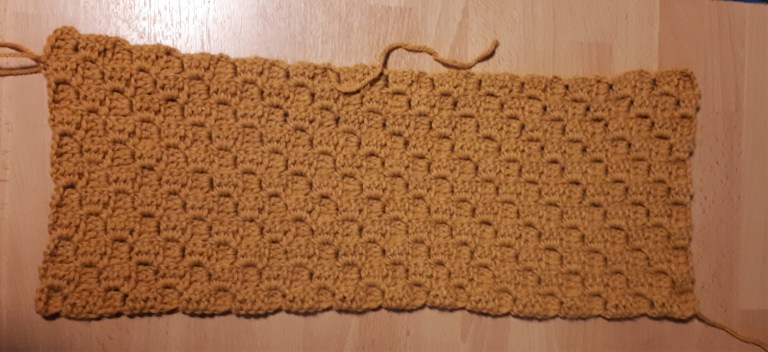
Decide which side you want as your outer side. Since you turn each row there really isn’t a «right» and «wrong» side per se, but they are a bit different. Choose the one you prefer. Sew the piece together as a tube by sewing down the short sides.

The top part:
Start with a new thread at the top of the hat, in the seam.
1: chain 3, 3 dc in every «square» around the top.
2: chain 3, decrease by crocheting 2 dc togeteher all the way around. If you have an uneven number you just make 1 dc in the last st.
Repeat round 2 until you only have a little hole left, and sew this shut. About 3-4 times.


The bottom part:
Start with a new thread at the bottom, in the seam.
1: chain 3, 3 dc in every «square» around the top. (In the same way as before)
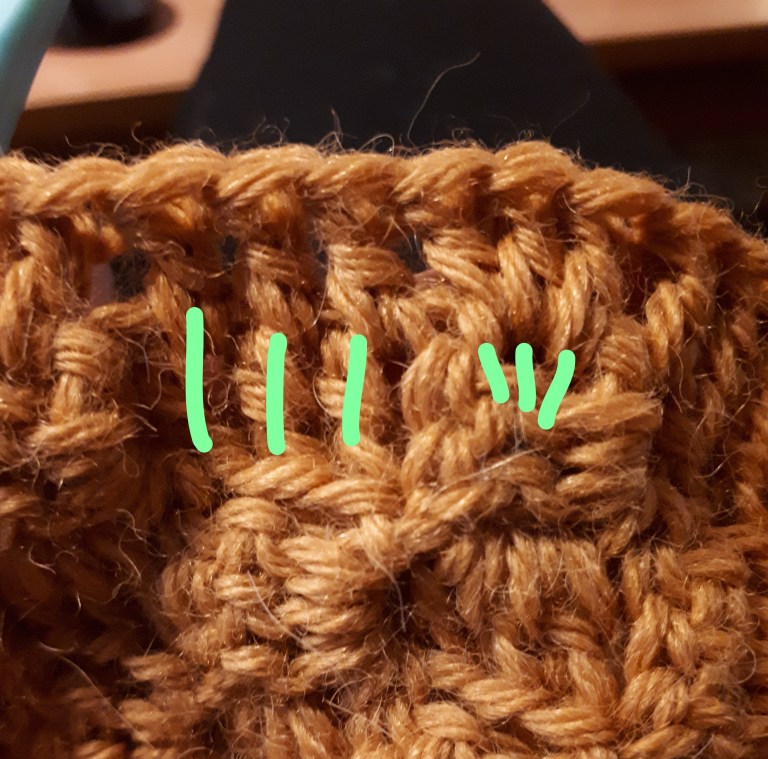
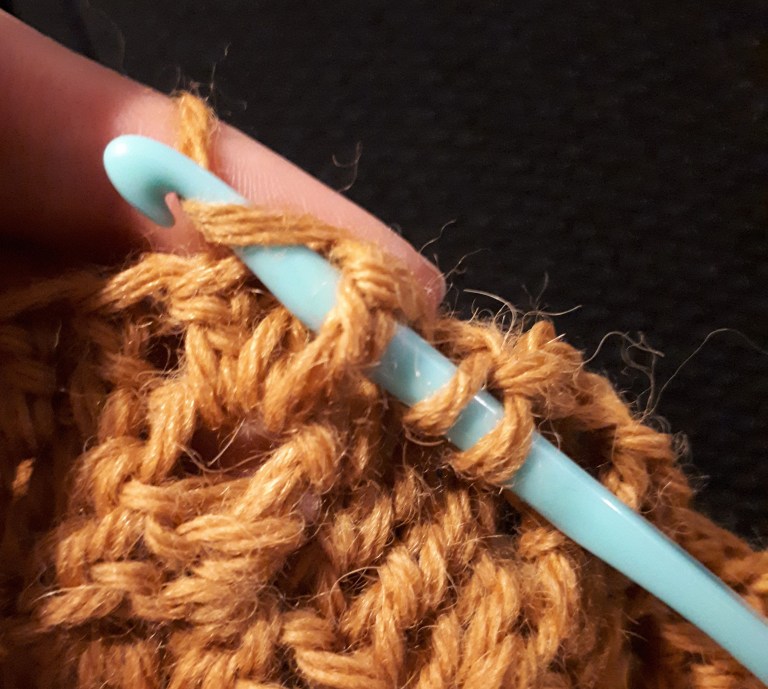
On the bottom part I made a brim that looks kinda like rib, like in knitting. To do this you crochet around the dc instead of in the loops of the dc. Drops design has a video on this.
You alternate by going aournd the dc from the front and from the back.
On the grey beanie I alterneated by doing 3 from the front, and 3 from the back. On the mustard one I alternated with 1 from the front, 1 from the back. This makes it a little tighter than with 3 x 3. You can do this which ever way you want, and for how many rows you want. Just remember to do that 1st round first either way.
For the grey one I did a total of 5 rounds, and the mustard one I did a total of 4 rounds.
I hope this tutorial/pattern was understandable, and that you like you new beanie! I would love to see what you made, so if you want to you can add it as a project on Raverly, or as a picture on Instagram. Tag me @katrineklarer, and also use #c2cbeanie or #katrineklarer if you’d want to. Thanks!


The c2c technique is not invented by me. I just used it as a tool and inspiration for this free pattern.
Oppdag mer fra Katrine Klarer
Abonner for å få de siste innleggene sendt til din e-post.
